Orchids: A Comprehensive Guide

Orchids are often considered as symbols of beauty and elegance. These exotic flowers have gained popularity among plant enthusiasts due to their stunning appearance and unique care requirements. In this comprehensive guide, we will explore the fascinating world of orchids and learn how to care for them to ensure they thrive and grace your living space with their vibrant blooms.
Understanding Orchids
Orchids, often referred to as the “jewels of the plant world,” are renowned for their captivating beauty and unique characteristics. To care for orchids effectively, it’s crucial to have a deeper understanding of their origins, anatomy, and growth habits.
Orchid Origins
Orchids are a diverse and widespread family of flowering plants, found on nearly every continent, with the exception of Antarctica. They have evolved to thrive in various ecosystems, from tropical rainforests to arid deserts. This adaptability has resulted in a vast array of orchid species, each uniquely adapted to its environment.
Orchid Anatomy
To care for orchids properly, you must familiarize yourself with their anatomy. Orchids consist of several key parts:
Roots: Orchid roots are designed for maximum absorption of water and nutrients. They often appear green or silvery due to a special tissue called velamen, which aids in water retention.
Leaves: Orchid leaves vary widely among species. Some are thick and leathery, while others are thin and papery. The shape, size, and color of leaves can provide clues about an orchid’s specific care requirements.
Pseudobulbs: Some orchid species have pseudobulbs, which are swollen, bulb-like structures that store water and nutrients. These serve as reservoirs during periods of drought.
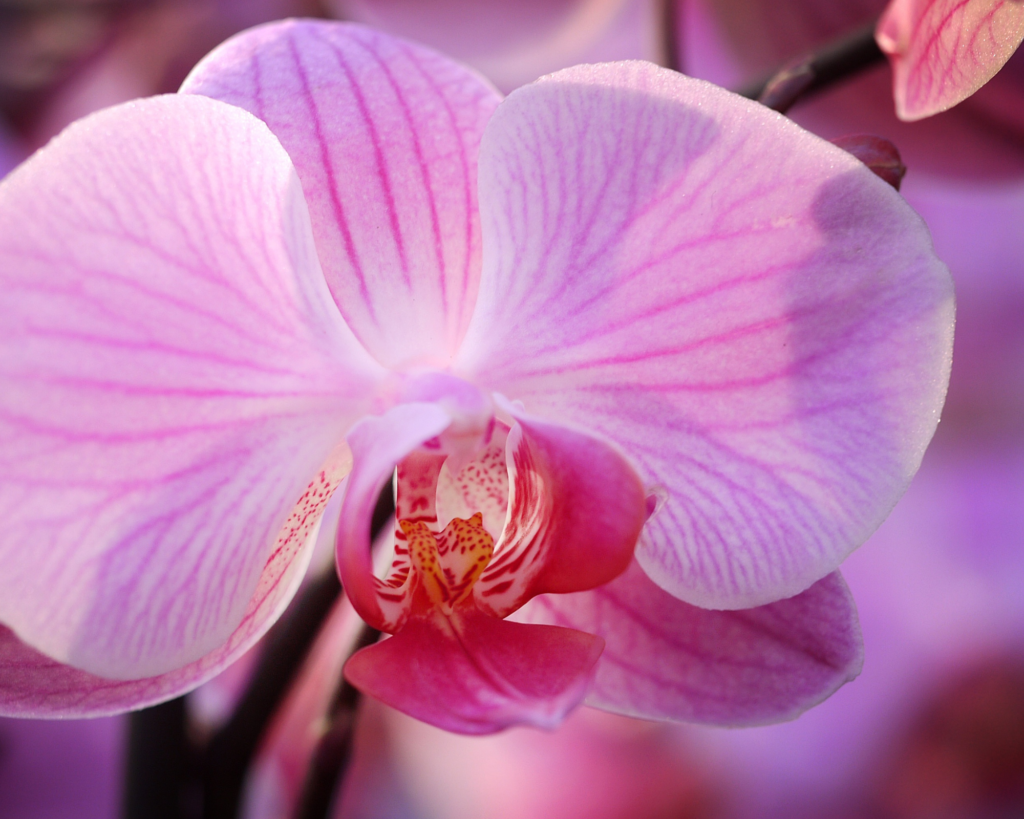
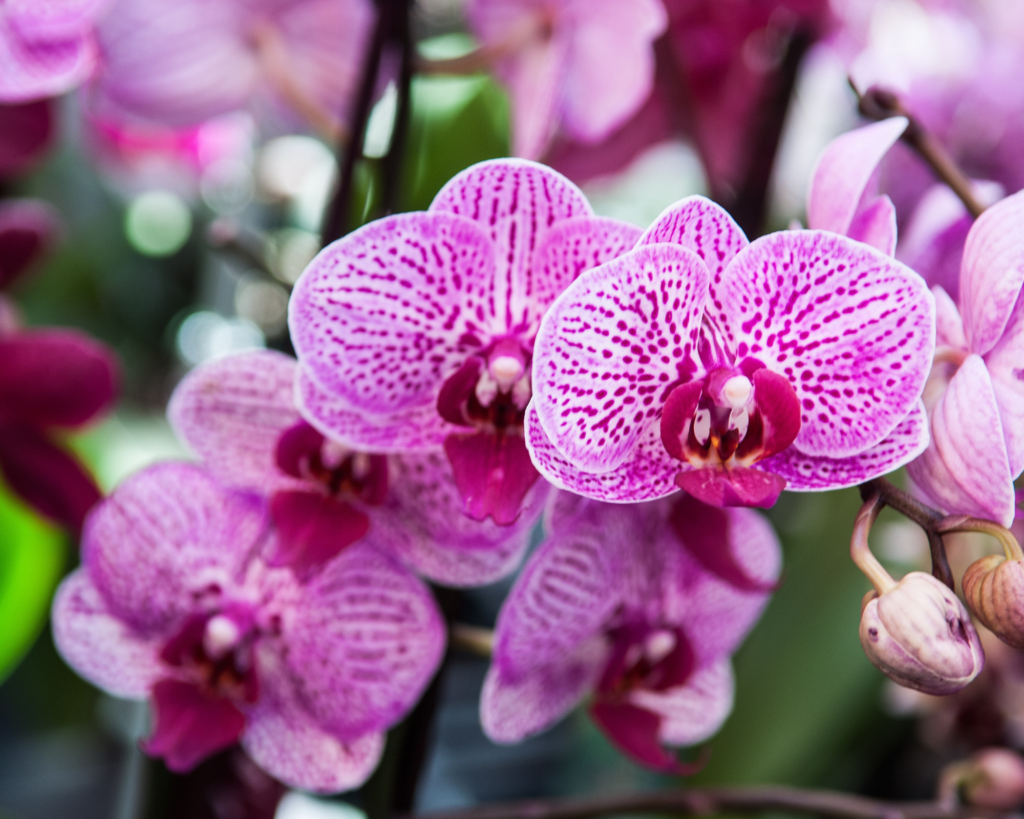
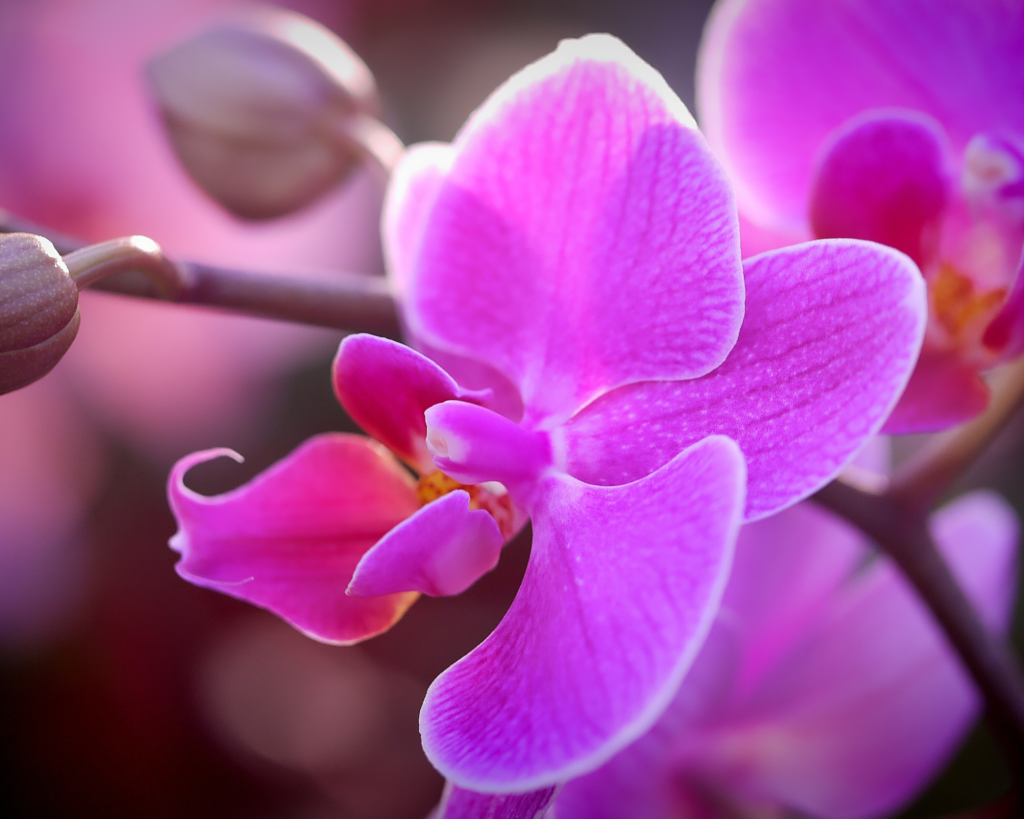
Flowers: The most iconic feature of orchids is their intricate and colorful flowers. Orchid blooms come in a vast range of shapes and sizes, and their vibrant colors often attract pollinators, such as insects and birds.
Orchid Growth Habits

Understanding the growth habits of orchids is essential for their care. Orchids can be broadly categorized into two growth habits:
Monopodial: Monopodial orchids have a single, upright stem with leaves arranged alternately along it. New growth occurs from a single terminal bud, and they often grow vertically.
Sympodial: Sympodial orchids grow horizontally and produce multiple pseudobulbs. New growth emerges from the base of the pseudobulbs, and older pseudobulbs can produce flowers.
Each orchid species may have its own specific growth pattern, which influences how you care for and prune the plant.
Diversity
With over 25,000 known species and countless hybrids, orchids are incredibly diverse. This diversity extends to their care requirements, making it essential to research and identify the specific needs of the orchid species you are cultivating.
In conclusion, orchids are not just ordinary houseplants; they are a botanical marvel with a rich history and a wide range of characteristics. To successfully care for an orchid, it’s vital to appreciate their diversity, understand their anatomy, and recognize their unique growth habits. Armed with this knowledge, you can embark on a rewarding journey of nurturing these exquisite flowers in your own home.
Choosing the Right Orchids
Orchids come in a stunning variety of species and hybrids, each with its own unique characteristics and care requirements. To make an informed choice, you should take into account the following considerations:
1. Selecting the Ideal Orchid Species
The first decision you’ll need to make is which species of orchid you want to grow. Some common orchid species suitable for beginners include:
- Phalaenopsis Orchids: Often referred to as “Moth Orchids,” these are popular for their elegant, arching sprays of flowers and relatively easy care.
- Dendrobium Orchids: Dendrobiums offer a wide range of colors and sizes. They are known for their long-lasting blooms and are great for beginners.
- Cymbidium Orchids: These orchids are prized for their impressive, large flower spikes and robust nature. They are well-suited for cooler environments.
- Oncidium Orchids: Also known as “Dancing Lady” orchids, they feature delicate, cascading blooms with distinctive shapes.
Each orchid species has its own growth habit, care requirements, and visual appeal, so consider your preferences and the conditions in your home when making your selection.
2. Evaluating the Health of the Orchids
Once you’ve chosen a specific orchids, it’s essential to assess its health before making a purchase. Look for the following signs of a healthy orchid:
- Firm, Green Leaves: Healthy orchids have sturdy, green leaves. Avoid orchids with yellowing or wilting leaves, as this may indicate stress or disease.
- Strong Roots: Check the roots of the orchid. They should be firm, plump, and white or green. Avoid orchids with mushy, brown, or damaged roots.
- No Signs of Pests or Disease: Inspect the entire plant, including the leaves and stems, for any signs of pests or disease. Common issues include mealybugs, scale insects, or discolored spots on the leaves.
- Well-Potted: Ensure that the orchid is potted in a suitable container with good drainage and healthy potting mix.
By carefully evaluating the orchid’s health, you can start with a strong and thriving plant, increasing your chances of success in caring for it.
3. Consider Your Growing Conditions
Orchids have specific requirements for light, temperature, and humidity. Before bringing an orchid home, consider whether you can provide the conditions it needs. For example:
- Light: Some orchids thrive in bright, indirect light, while others require more intense light. Make sure your home can provide the right light conditions for your chosen orchid.
- Temperature: Orchids have temperature preferences that vary by species. Ensure your home’s temperature aligns with the orchid’s requirements, especially if you plan to grow more temperature-sensitive varieties.
- Humidity: Orchids generally prefer higher humidity levels. If you live in a dry climate, you may need to use a humidifier or other methods to maintain adequate humidity.
By choosing an orchid that matches your existing conditions or is manageable with slight adjustments, you’ll set yourself up for successful orchid care.
In conclusion, selecting the right orchid is the foundation of successful cultivation. Take your time to research different orchid species, evaluate their health, and ensure you can meet their specific care requirements. With the right orchid and proper care, you can enjoy the beauty and elegance of these exquisite flowers in your home.
Orchid Potting and Repotting
1. Choosing the Right Pot
Selecting the appropriate pot is the first step in ensuring the well-being of your orchid. Orchids have unique potting requirements:
Good Drainage: Orchids dislike standing in water, so choose pots with multiple drainage holes at the bottom. This allows excess water to escape and prevents root rot.
Material: Orchid pots are typically made of clear plastic or clay. Clear plastic pots are beneficial because they allow you to monitor the health of the roots and assess moisture levels. Clay pots can absorb excess moisture but may require more frequent watering.
Size: The pot should be just large enough to accommodate the roots without being too snug. Orchids prefer a snug fit, as this can help stabilize the plant.
2. Repotting Orchids
Orchids need to be repotted periodically, usually every 1-2 years, depending on the species and the condition of the potting mix. Here’s a step-by-step guide to repotting your orchid:
Step 1: Gather Your Supplies
- Clear plastic or clay pot with drainage holes
- Fresh orchid potting mix
- Pruning shears or scissors
- Gloves (optional)
Step 2: Remove the Orchid
Gently grasp the orchid’s base and carefully slide it out of the old pot.
Examine the roots for any signs of rot, disease, or overcrowding. Trim away any dead or mushy roots with clean, sharp shears.
Step 3: Prepare the New Pot
Clean the new pot to ensure it’s free from contaminants.
Add a layer of fresh orchid potting mix to the bottom of the pot. This helps anchor the orchid.
Step 4: Repot the Orchid
Position the orchid in the new pot, making sure the roots are spread evenly.
Fill the pot with additional potting mix, gently pressing it down to secure the orchid. Leave enough space at the top to water the plant.
Step 5: Water and Care
Water the repotted orchid thoroughly but avoid soaking it. Allow excess water to drain out.
Place the orchid in its appropriate light and temperature conditions.
3. When to Repot Orchids
Knowing when to repot is essential. Signs that your orchid may need repotting include:
- The potting mix has broken down or become compacted.
- The orchid has outgrown its current pot, with roots protruding over the edge.
- The orchid shows signs of stress, such as stunted growth or reduced blooming.
- Repotting is best done after the orchid has finished flowering or during its active growing season.
In conclusion, orchid potting and repotting are vital tasks to ensure your orchid’s health and growth. Select the right pot, follow proper repotting procedures, and pay attention to the signs that indicate when it’s time for a new home. With care and attention, your orchid will continue to thrive and reward you with its stunning blooms.5. Watering Frequency
Orchids prefer a regular watering schedule. Water them once a week, allowing excess water to drain out completely.
Water Quality
Use lukewarm, purified water to prevent mineral build-up in the potting mix. Rainwater or distilled water are excellent choices.
Orchid Light Requirements
1. Indirect Sunlight
Orchids thrive in bright, indirect sunlight. Avoid exposing them to harsh, direct sunlight, which can scorch their delicate leaves.
2. Light Duration
Maintain a consistent light schedule. Orchids generally require 12-14 hours of light each day.
Orchid Temperature and Humidity
1. Ideal Temperature Range
Maintain a temperature range of 60-75°F (15-24°C) during the day and a slightly cooler temperature at night.
2. Humidity Levels
Orchids thrive in a humid environment. Place a tray of water near your orchid or use a humidifier to maintain adequate humidity levels.
Orchid Fertilization
1. Choosing the Right Fertilizer
Selecting the correct orchid fertilizer is crucial for providing your plants with the essential nutrients they need. Look for a balanced, water-soluble orchid fertilizer with a ratio of approximately 20-20-20 or 10-10-10. These numbers represent the percentages of nitrogen (N), phosphorus (P), and potassium (K), respectively. Orchids also benefit from micronutrients like iron, magnesium, and calcium, which may be included in specialized orchid fertilizers.
2. Fertilization Frequency
Orchids have specific fertilization requirements, and it’s essential to avoid overfeeding, which can damage the roots. Here’s a general guideline for fertilization frequency:
- During the Growing Season: Orchids are typically fertilized every two to four weeks during their active growing season, which often coincides with spring and summer. This is when they are producing new leaves and roots.
- Reduced Fertilization in Winter: During the fall and winter, orchids typically slow down their growth. Reduce the frequency of fertilization to once every six to eight weeks during this period.
3. Dilution and Application
Follow the instructions on your chosen orchid fertilizer for dilution and application. In most cases, you will dilute the fertilizer in water to the recommended concentration. Here’s how to apply it:
- Root Zone: Water the orchid with the diluted fertilizer solution, ensuring it reaches the root zone. Avoid getting fertilizer on the leaves or flowers, as this can cause burns.
- Flush with Water: After fertilizing, it’s a good practice to flush the pot with plain water to prevent salt buildup in the potting mix. This helps maintain the pH balance and prevents fertilizer residue.
4. Strength and Timing
Be cautious not to over-fertilize. Using a fertilizer at half the recommended strength is often sufficient for orchids. Also, it’s best to fertilize when the orchid is already moist, as dry roots can be more sensitive to fertilizers.
5. Watch for Signs of Overfeeding
Keep an eye on your orchids for any signs of over-fertilization, such as:
- Leaf Tip Burn: The tips of the leaves turn brown or black, indicating excess salt build-up.
- Stunted Growth: If your orchid’s growth seems slowed or stunted, it might be getting too much fertilizer.
- Yellowing or Dropping Leaves: This can also be a sign of excessive fertilization.
If you notice these symptoms, flush the pot with water to remove excess salts and adjust your fertilization routine accordingly.
6. Seasonal Adjustments
Remember to adjust your fertilization schedule and strength according to the changing seasons and the growth patterns of your orchid. Orchids may have varying nutrient needs throughout the year.
orchid fertilization is a critical component of orchid care. By choosing the right fertilizer, following a proper fertilization schedule, and monitoring your plants for signs of overfeeding, you can provide your orchids with the nutrition they need to thrive and grace your home with their exquisite blossoms.
Common Orchid Problems
1. Pests
Issue: Orchids can be susceptible to pests like mealybugs, aphids, spider mites, and scale insects. These pests can damage leaves and flowers.
Solution: Inspect your orchids regularly. If you notice pests, isolate the affected plant to prevent the infestation from spreading. Treat the orchid with an appropriate insecticidal soap or neem oil, following the product instructions carefully.
2. Disease
Issue: Orchids can develop fungal or bacterial infections, which can manifest as black spots, rotting leaves, or wilting.
Solution: Ensure proper air circulation around your orchids by providing good spacing. Avoid overwatering and ensure that water doesn’t accumulate in the crown of the plant. If you suspect a disease, trim away affected parts and treat with a suitable fungicide or bactericide.
3. Root Rot
Issue: Overwatering or poorly draining pots can lead to root rot in orchids, causing the roots to turn brown or mushy.
Solution: Allow the potting mix to dry slightly between waterings and ensure that your orchid’s pot has good drainage. If root rot is severe, trim away the affected roots, repot the orchid in fresh mix, and adjust your watering habits.
4. Yellowing Leaves
Issue: Yellowing leaves can be caused by various factors, including overwatering, underwatering, insufficient light, or nutrient deficiencies.
Solution: Identify the root cause by examining the growing conditions. Adjust your watering schedule, ensure adequate lighting, and consider fertilization if necessary.
5. Wilting Flowers
Issue: Orchid flowers can wilt prematurely if the orchid is stressed, lacks humidity, or has finished its natural bloom cycle.
Solution: Maintain proper humidity levels by using a humidity tray or humidifier. Ensure your orchid is placed in an appropriate location with the right light conditions. Some orchids naturally drop their flowers after blooming, so it may be a natural part of their life cycle.
6. Leaves with Spots or Discoloration
Issue: Brown or black spots on orchid leaves can be a sign of fungal or bacterial infection, sunburn, or water droplets magnifying sunlight and causing burns.
Solution: Adjust watering practices to prevent water droplets from sitting on the leaves. Ensure proper air circulation and reduce the risk of fungal or bacterial issues. Protect orchids from direct, intense sunlight.
7. Stunted Growth
Issue: Orchids may exhibit slow or stunted growth due to inadequate light, incorrect potting mix, or nutrient deficiencies.
Solution: Assess your orchid’s growing conditions. Provide appropriate light, repot if needed with fresh orchid potting mix, and consider adjusting your fertilization routine to ensure your orchid receives the necessary nutrients.
Remember that orchid care can be specific to the type of orchid you are growing, so it’s essential to research the particular requirements of your orchid species or hybrid. Regular observation and care adjustments will help you address and prevent common problems, ensuring that your orchids flourish and grace your home with their stunning blooms.
Orchid Blooming

1. Triggering Blooms
- Light and Temperature: Many orchids require specific light and temperature conditions to initiate flowering. To trigger blooms:
- Cooler Temperatures: Orchids often need a period of slightly cooler temperatures to induce blooming. During the fall, reduce night time temperatures by a few degrees for several weeks.
- Reduced Light: Some orchids, especially those in the Cattleya alliance, need less light during this period. Place them in a location with reduced light exposure.
- Fertilization: Adjust your fertilization routine to promote flowering. Use a high-phosphorus fertilizer (e.g., 10-30-20) to encourage blooming during the growth season.
- Pruning: After the orchid has finished blooming, trim spent flower spikes and any dead or damaged growth. This encourages the plant to focus its energy on new growth and future blooms.
2. Enjoying the Blossoms
- Appreciate the Diversity: Orchids come in an astounding variety of colors, shapes, and sizes. Take the time to admire the uniqueness of each bloom.
- Longevity: Orchid blooms can last from several weeks to several months, depending on the species and care conditions. Appreciate their enduring beauty.
- Fragrance: Some orchids, like the popular Phalaenopsis, emit exquisite fragrances. Breathe in the delightful scents and let them fill your home.
- Supporting the Spikes: Use stakes or clips to support heavy flower spikes, preventing them from bending or breaking under the weight of the blossoms.
- Regular Care: Continue to provide the orchid with proper care during its blooming period. Maintain adequate light, temperature, and humidity to ensure the blooms stay vibrant.
Remember that orchid blooming can vary depending on the species and the orchid’s individual growth cycle. Be patient and consistent in your care routine, and your orchid will reward you with breath-taking and long-lasting blossoms.
In conclusion, orchid blooming is a magical moment for any orchid owner. By understanding the specific needs of your orchid, providing the right conditions, and appreciating the diversity and beauty of their blooms, you can enjoy these exquisite flowers to the fullest.
Conclusion
Caring for an orchid can be a rewarding experience when you understand their unique requirements. By following these guidelines, you can create an environment in which your orchid will thrive and flourish, rewarding you with its breathtaking blossoms.
FAQs
1. How often should I water my orchid?
Water your orchid once a week, allowing excess water to drain out.
2. What is the ideal temperature range for orchids?
Orchids prefer a temperature range of 60-75°F (15-24°C) during the day.
3. How do I encourage my orchid to bloom?
To trigger blooms, provide a brief period of cooler temperatures and reduced light in the fall.
4. Can I use tap water to water my orchid?
It’s best to use lukewarm, purified water to prevent mineral build-up. Rainwater or distilled water are excellent choices.
5. What should I do if my orchid gets infested with pests?
If you notice pests on your orchid, treat the infestation promptly with appropriate measures, such as neem oil or insecticidal soap.

